
Roll20.net is an online virtual tabletop for pen and paper RPGs. It’s free and entirely on the web. There are a large number of form-fillable character sheets available. I’m going to focus specifically on using it with the Cypher System. For those of you who learn better by watching rather than reading, there is a video covering this at the bottom of this page. First, you need an account with Roll20.net. Again, it’s free and you just sign up with an email.
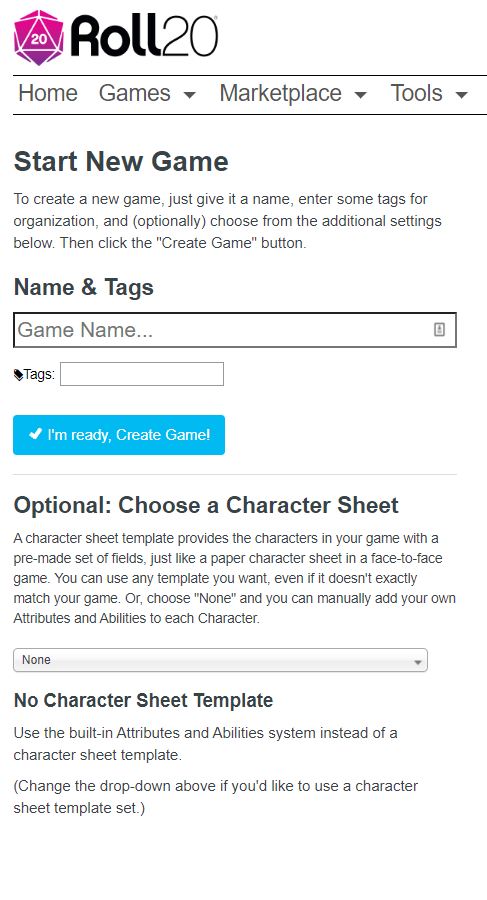
At the top where it says Name & Tags is where you put in the name of your game. I’d suggest something more than just the system that it uses so that it’s easy to remember when you get roped into running multiple games like me.
In the tags box, include what system you’re using: Cypher, Numenera, The Strange, etc…
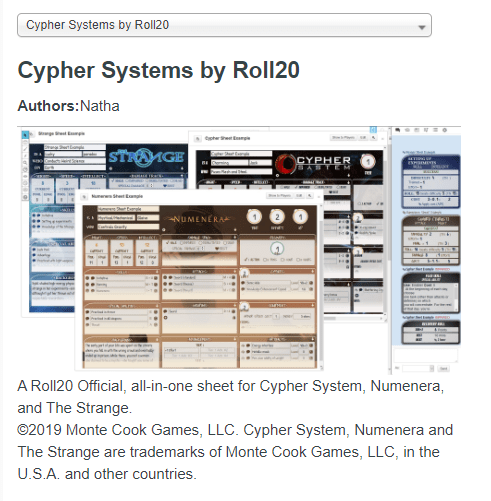
Under the “Optional: Choose a Character Sheet”: It is a drop down menu. As we are using the Cypher System, the choice is Cypher Systems by Roll20. Almost immediately an image will form under your character sheet option that will look like this.
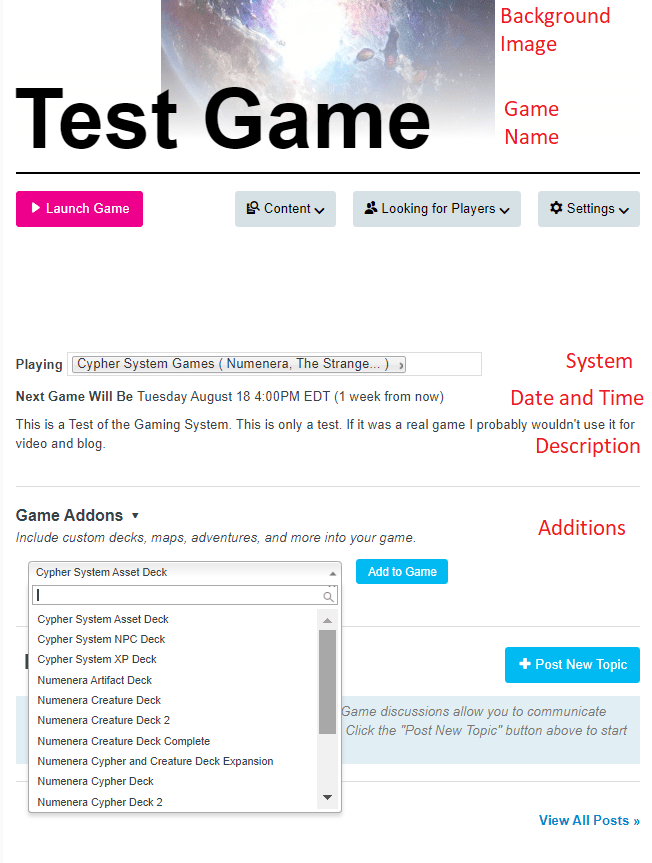
When you click “I am Ready, Create Game” it will take you to a new view. For this, I named it Test Game. On the main page of the game, you can add a background image for the game, change the name of the game, set the calendar, and add what kind of game it is under playing. The Game Add-on’s are for if you’ve purchased any extras, such as the Decks, pre-published adventures, or other Roll20 Assets. As you can see, Josh isn’t the only one who likes Decks. You click on it, then click add to game and it’ll pop up a list of what you’ve added. The list is typically only four of the latest, so be aware of what you’ve added. Though you can always delete them later from the Macros, Decks, and Roll able Tables (called the Collections) section of the actual game interface later.
Next, click “Launch Game”. This button will take you into the game. Don’t worry you can come back to this page at any time. When you’re on your home page of Roll20, click the name of the game and it will bring you here. So the first thing you’re going to see is this.
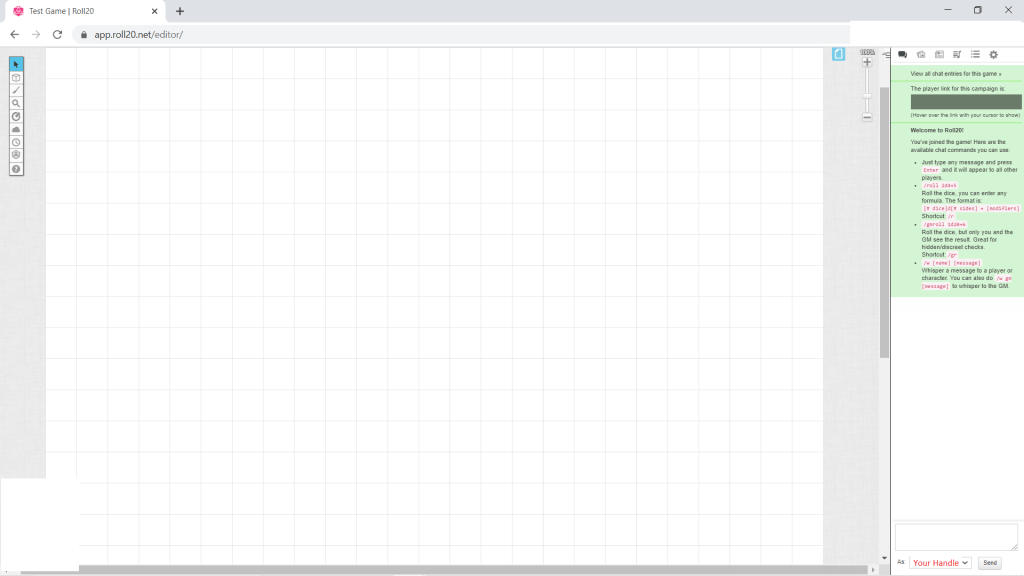
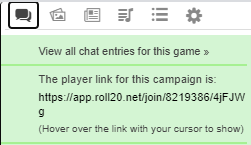
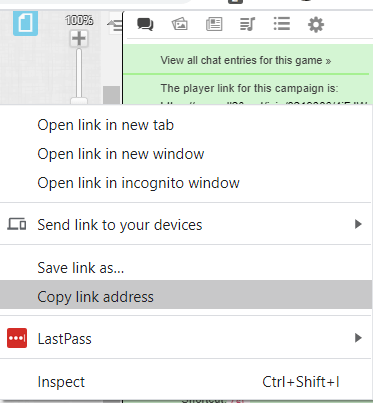
What I’d like you to focus on is the right hand side of the screen. The first button is the chat button (see left image below). This is where all the rolls and talking will show up. You see the grey box? The Link to your game will show up under there. To Share the link to your game, you want to hover over it (see middle image below) and right click it to bring up the menu. Click ‘copy link address’ (see right image below), and this will allow you to paste this for other people to click and join your game.

The second button is where the images are stored. This can be covered in more detail in a later blog if it’s desired that I make an in detail one about Roll20 by itself.
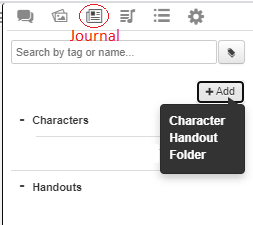
The third token is the journal. Character Sheets and Handouts are created here, and you can use Folders to organize them. You click the add button and a drop down menu appears.

When you create a character, this dialog box pops up. You can edit the name that is generated (this is a good thing because Roll20 comes up with terrible names). I recommend naming the sheet the handle of the player that will be using it until they can change it themselves.
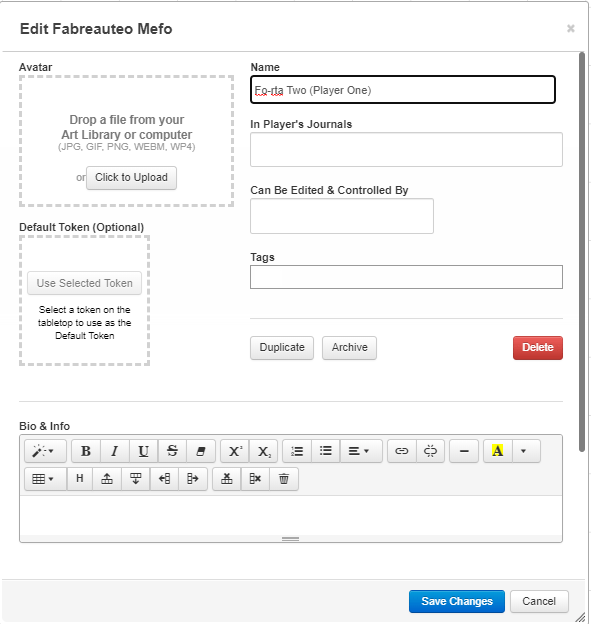
However, when they name their character, I usually have them name it and then put their handle in parentheses at the end to make it easier to locate in chat by specific person.
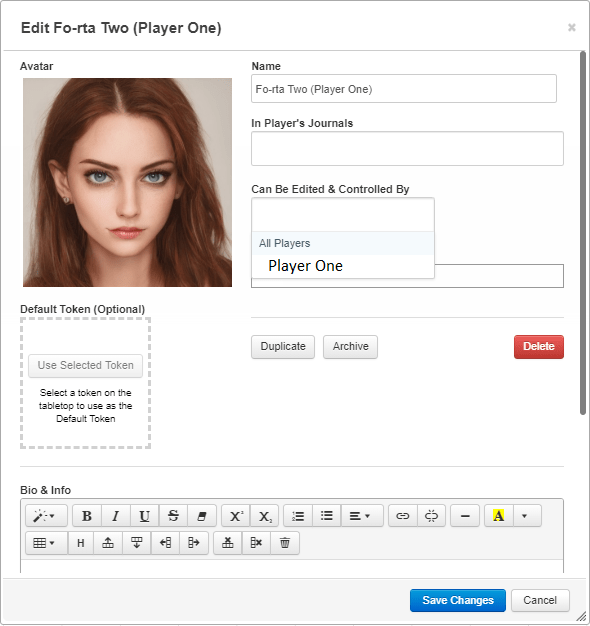
As you can see, there is a place for an image to be uploaded as the avatar. This can double as the token that is placed on the map to represent the character’s location, so this is somewhat important.
The drop down menus under the name let you decide who can see it, ‘In Player’s Journals’ and who controls or edits it in ‘Can Be Edited & Controlled By’.
The next dialogue box that pops up is the character sheet and choices. I am using the Cypher System Character Sheet. There is no mechanical difference between the three that I’ve found, just a visual one. The Misc and Background can also be ignored or adjusted depending on what you, as GM, desire. You can choose Roll Queries or Action Section. For this part, I am just going to leave it at Roll Queries and go over the Action Section later. For the Use section, I’ve clicked all three and you can ignore the Misc: API buttons because you can’t actually use it unless you have a paid Roll20 Pro Account.
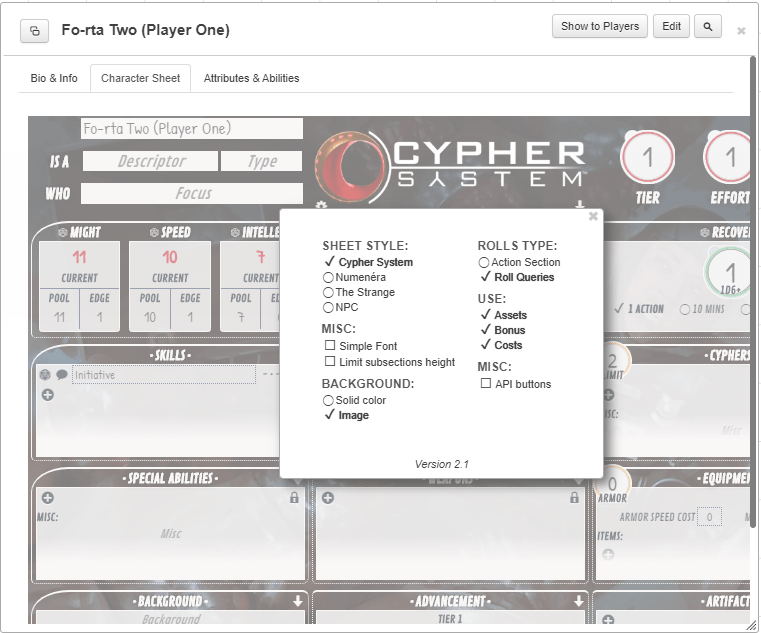
After you’ve finished that, click the ‘x’ on the top right and it will close that screen. Yes, you can come back to it at a later date, and I will tell you how.
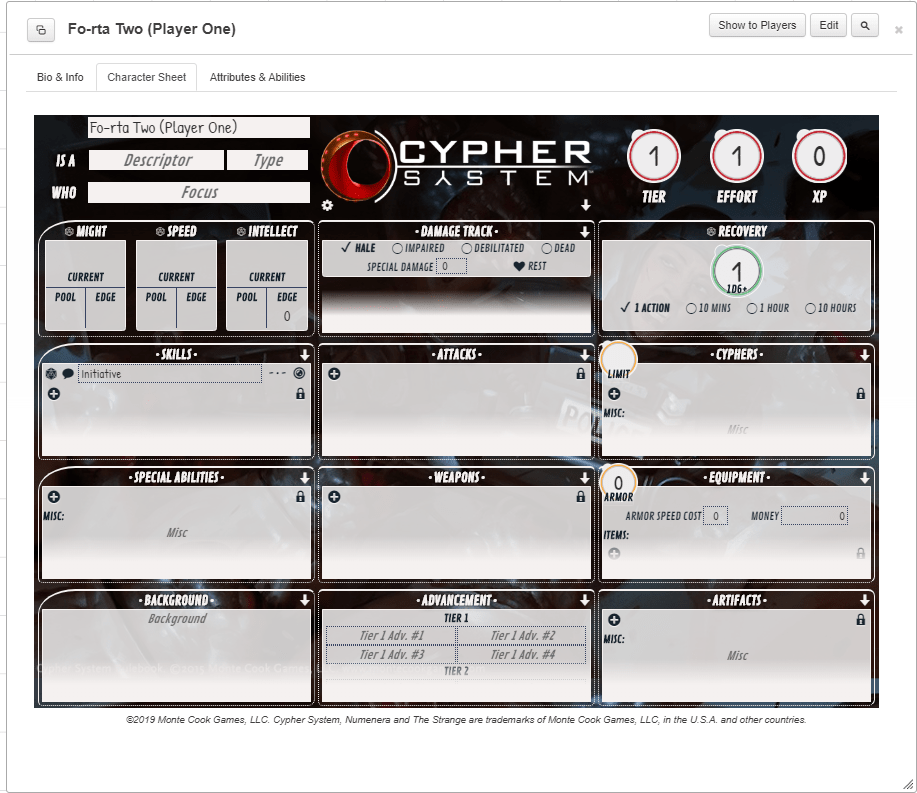
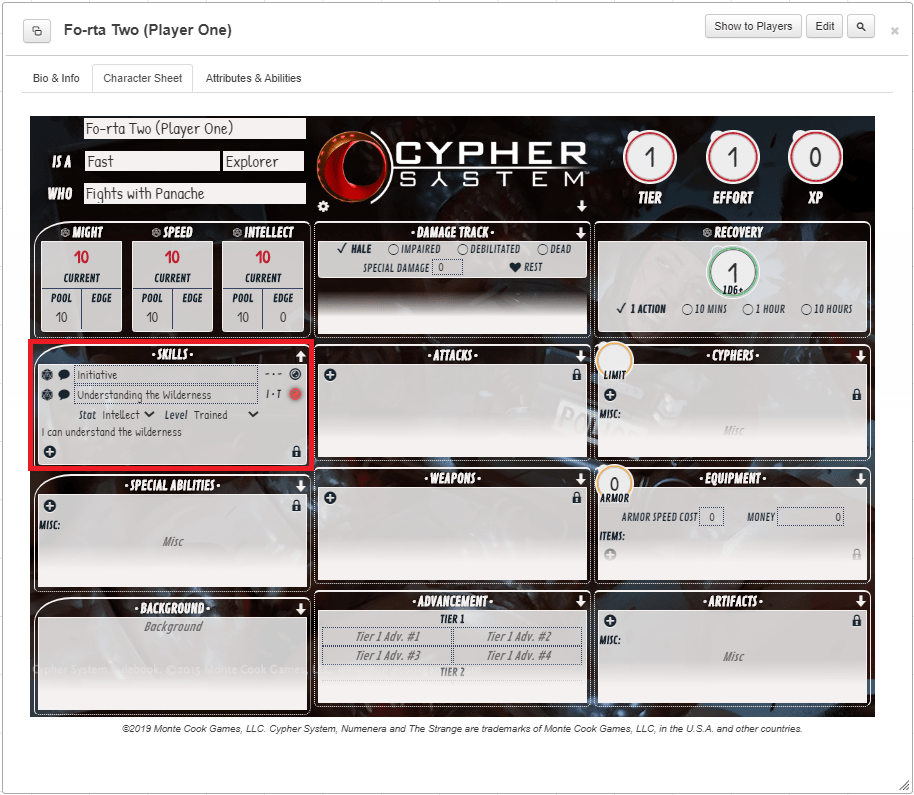
Now, this part is for both the Players and the GMs and is how to actually fill in the character sheet. This character sheet is form fillable, which means each box you can click in to add text to. The first thing I personally like to do is zero out the pools and the Cypher Limit. Mostly because that makes it easier when you’re building the character.
Now, this part is the sentence structure: Descriptor, Type and Focus. Some people like to start from the Descriptor, some from the Type, some from the Focus. All that matters is that you start where you are comfortable. I like going Type, Descriptor, then Focus, mostly because the Focus takes me the longest to choose. For this part you need the rule book you’re using. Cypher System Rule Book, Numenera, The Strange, or any other similar Cypher System property.
I’m going to keep it fairly uncomplicated for this part. Let’s make For-tay Two an explorer. So I type explorer into the type section. Explorers are on page 27 of the Revised Cypher System Rulebook. I want to make her Fast, so that will be her Descriptor. Fast can be found on page 45. Now for her Focus, they start on page 64 and there are a lot of them. I’m going to go with Fights with Panache, which can be found on page 68.

The next part is simply doing the math and inserting the numbers into the Might, Speed and Intellect pools. Make sure your pool, on the bottom, and the number in the middle are equal. Obviously, I’m not going to build out the character completely because I have purchased and I use the PDFs to copy text in for personal use. (Mostly so I can remember what my character can do.)
At the top right side of each box is an arrow. You want them pointed up to show more of the box, otherwise you only get a portion of the box visible at a time. The first thing we’re going to look at is skills. You click the ‘+’ sign at the bottom left to add dialog boxes and type information into. The circle on the right next to the dialogue box can be clicked to expand the description, or clicked to hide the description. Underneath the name of the skill are drop down menus. First is the stat. Second is level, which is inability, untrained, trained, specialized. To clarify, if you are ‘Practiced’ in a weapon, you select Untrained. It’s just language semantics.
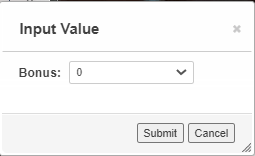
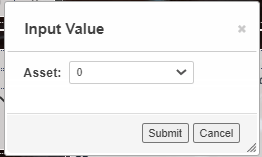
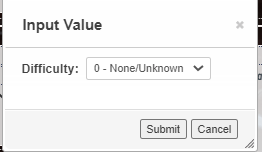
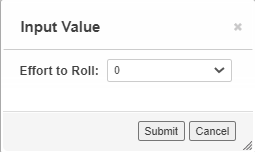
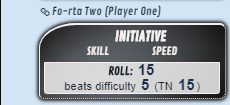
The leftmost icon is an image of a d20 dice. When you want to use that skill, you click the dice and it pops up the roll query. For the first example I’m going to use Initiative. Each pop up box has a drop down menu (and each are shown below), the first is the Bonus, this is if you have any bonuses or negatives to that skill. The second is Difficulty, if your GM has given you a difficulty level you will input it now, this is important because later it will show a success or failure on the dice roll. If your GM has not given you a value, leave this set to zero. Next is Effort. If you chose to use levels of Effort on your roll, select it here. Asset is when you have someone or something to help you with the task. The Cost of your ability is last. When you’re finished, you have a roll in the chat window.

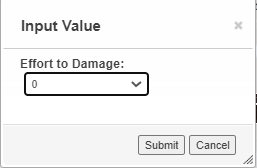
When you use an attack, you do the same thing, however, sometimes an attack is ‘eased’ then you select the bonus it is eased by. ‘Light weapons are eased, which translates to a bonus 1 on the roll. You will also have the choice to add effort to your damage instead of to the roll. Per RAW (Rules As Written) you can only do one or the other, not both.
Next to the dice roll button is an icon that looks like a chat bubble. When you click this, it will send a description of whatever ability, item, etc… that it is next to. This is helpful to communicate to the GM what you are doing so that he doesn’t have to remember every description of every skill and ability and weapon and cypher and artifact in the game. As GM’s ourselves, we thank you in advance for helping us out here.
Now, remember how I said you could go back and change it from Roll Query to Action Section. Up at the top next to your name and just above the damage track is a little cog. If you click that it brings up the first dialogue box again. When you click the box for action section it changes the character sheet slightly. You will want to click the arrow to point it upward on the damage track section. This will show your new Actions section. You will notice that everything you queried is now in this section. This is useful if you’re making repeated attempts at something such as crafting, salvaging, or even combat. I personally prefer Action Section over Roll Queries, because having the incessant pop ups annoys me. However, you do you. Pick the one you’re most comfortable with.

Special Abilities has the same drop down menus as skills. Use: Action, Enabler, Other (see below, left). Cost: insert how much the ability costs. Stat: Which stat does this ability use if any (see below, right). Then a box underneath for the description of the ability. Remember what I said before about the chat bubble? This holds true for these as well. It will broadcast to the chat what the special ability does. (It also saves time on having to look it up every time you use it. No, Runs Very Fast is not an actual ability in the book.)


Background is self explanatory, as is damage track. The damage track adjusts automatically when one of your stats drops to zero.
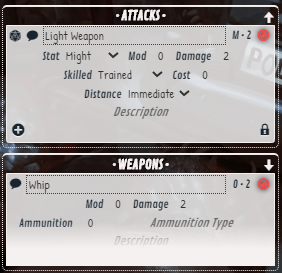
Attacks is where you put in ALL attacks. I mean all attacks, from weapons, abilities that are attacks, artifact attacks. If you can attack with it, it goes here. It’s done the same way as skills. Abilities that require rolls goes under skills as well. Such as a run check, a roll to convince or distract, those go under skills.
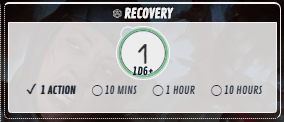
Recovery rolls are at the top, right hand side of the screen. At the top next to the word ‘RECOVERY’ is a d20 symbol. To make your recovery roll you click that. Each time you roll it, it will check the bubble next to each one automatically. When you’re starting fresh, you just click the bubbles and the check mark vanishes.
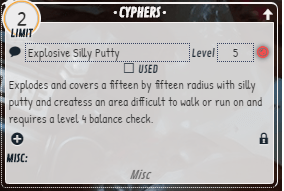
Cyphers: You get a limit on how many cyphers you can safely carry. How many you can have goes in the limit bubble. Then you click the plus, then it’s cypher, level, and description. I personally tend to use my decks (yay decks). I’ve included a made up cypher to show how it’s done. Numenera uses Oddities as well. One trick I have used is instead of cyphers, in the name line, type: ‘Oddity: ____’ and then fill in the blank with what it is. Then fill out the description as normal.

Equipment is fairly simple. The amount of armor you have goes in the bubble of armor, then your speed cost and money fill in the next portion. To actually add Items, click the ‘+’ then type it in the box and your quantity in the box next to it.
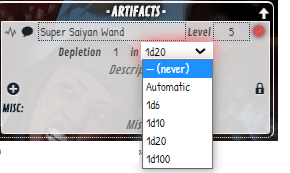
Artifacts are done similar to Cyphers, except they have a depletion drop-down.
In the middle, at the bottom is the Advancement Section. When you either a) use Experience to buy the advancement or b) get an advancement via milestone, it goes here. It’s four advancements to increase in Tier. You can use Experience for things other than advancements, like buying skills, contacts, special abilities, and many others. The costs to do this are covered in the Revised Cypher System Rulebook. You can find details regarding spending Experience Points on page 239 of that book.

The fourth is the Jukebox, where the GM can mix, match and make audio files to increase immersions level. The fifth is Collections, or the Macros, Decks, and Rollable Tables section and the last is the cog, or the Settings. More details on these can be added to a Roll20 specific blog if it is desired.
So, after this long page of information, I hope it you better understand both how to use Roll20, and to fill out and use the Cypher System Sheets. The following is a video going over the same information for those who learn better by watching. Happy gaming!
- Joann Walles
